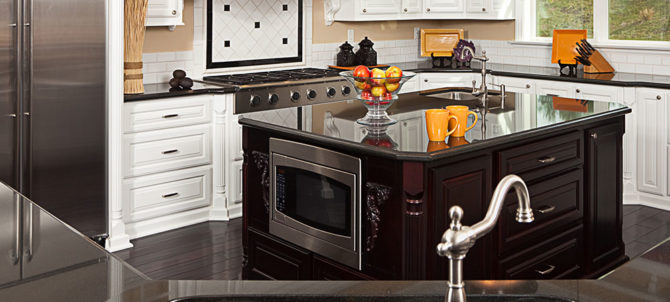
Granite is one of the most robust materials you can install in your home. With its unique, attractive colors, the material gives your kitchen an attractive and adorable look. Unfortunately, like other countertop materials, it wears out, gets old, or gets damaged, so you have to replace it.
Removing the countertop requires skills and strength. Are you wondering how to break granite countertops? Here is a guide on how to do it:
Get the necessary equipment.
You need to have the right tools for the job to break granite. The tools you need include: rubber gloves, bucket, air hammer drill, safety goggles, and Dexpan or any other explosive demolition agent.
Mark a line
Using water-soluble chalk, mark a line where you want to break granite. You should then drill holes measuring 1-1/2 to 2 inches wide into the granite slab along the line. For best results, space the holes 12-24 inches apart while ensuring each hole is 80% the total depth of the granite slab.
Mix the demolition agent
Following the package instructions, mix the non-explosive demolition agent with clean water. The best way to do is to mix one part agent with three parts water in a bucket until the powder has completely dissolved into the liquid. To protect yourself, wear rubber gloves and safety goggles.
Clean the holes
You should clean the holes with an air compressor before filling them with the mixture. You should fill the holes 2 inches from the top with the mixture then back away. Allow 45 -60 minutes for the mixture to expand within the hole, causing the granite to break along the line you created.
Avoid pouring the mixture when the temperatures are incredibly high. If possible, pour the mixture in the night and allow granite to break early in the morning or in the evening after the sun has set. If the holes are exposed to direct sunlight, cover them with a tarp until the slab breaks.
Clear the area
After breaking granite, you should now make a move to remove the countertops. Before you begin removing the countertops from your surfaces, remove any countertop accessories and appliances present. You also should empty drawers and products contained in the bottom rack of your drawers to prevent dust contamination and provide uncomplicated access towards the countertops.
Remember also to clear the utensils and cookware region.
Release the area
Identify the connection in the area between the cabinet’s front brace and the bottom of the countertop. You should look inside the head of the cabinet to see it. Using a hammer, hit the edge of the pry bar then screw softly to release any glue.
If you find plywood underneath the granite, work under it to detach or separate it from plywood. You should then tap a wooden shim into the already open joint to hold the countertop in that area. You should operate along the front side, screwing and shimming before you slowly raise the entire front rim.
Raise granite away from the cabinet supports
Using a pry bar, raise granite away from the cabinet supports beginning from the front and over to the back. Remember to insert shims as you proceed. You should proceed lightly to avoid breaking granite. Work along the length of the countertop, prying back only the next few centimeters.
You should continue working in section until you raise the entire countertop from one end to the other.
Tilt the countertop
Working together with a few assistants, slowly tilt the countertop from the back edge and transfer the granite to your place for storage.
You should store the granite with the top facing down. If granite has plywood underneath that needs to be replaced, carefully pry it free. Be gentle and lightly detach the seal and extract the plywood. If there is extra plywood remaining, pull or paint it with a sturdy scraper from the granite base.
Parting shot
Breaking and removing granite kitchen countertops Durham isn’t hard when you have the right removal tools and know what you are doing. If you are a DIY enthusiast, you can save some money by doing the work yourself but for best results and avoid damaging the cabinets in the process, let experts help you out.